Fitting your plates: pads or screws?
Plate Guides · 28 January 2025 · 4 min read
Sticky pads are quicker, kinder to raised letters and hold fine. Screws are for when the old plates were screwed on. Either way, never go through a letter.
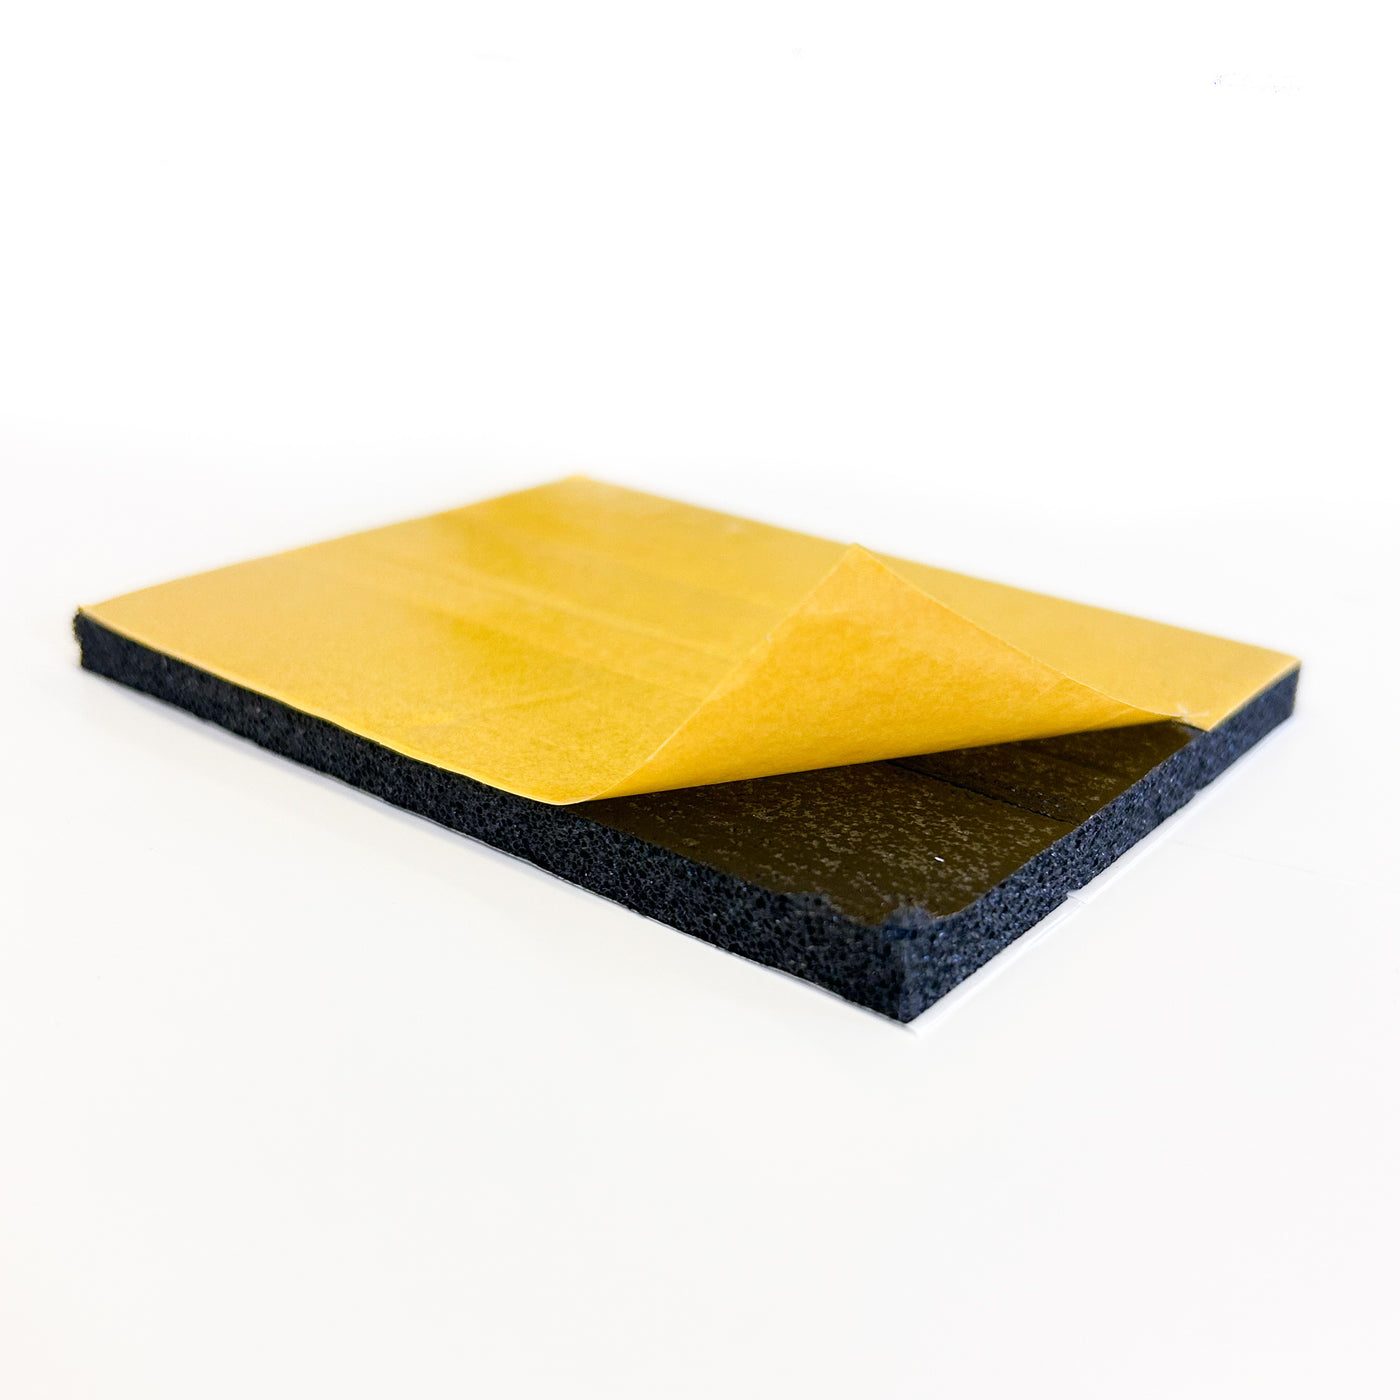
Pads, nearly every time
Every set we send out comes with heavy-duty double-sided pads, and for most cars that's the right way to fit them. They're rated for the weight many times over, they don't need holes, and they don't put a screw head next to a raised letter.
Screws make sense if the old plates were screwed on and you'd rather cover the holes, or if the plate sits on a textured bumper that pads won't grip.
Fitting with pads
- Get the old plate off cleanly. There's a separate guide on removing plates without wrecking the paint or the plate.
- Clean the surface. Old adhesive comes off with a plastic scraper and a bit of patience, then wipe with isopropyl alcohol or a mild degreaser. Skip this and the pads stick to grime, not the car.
- Do it warm. Adhesive bonds far better above about 10 °C. In winter, warm the bumper with a hairdryer for a minute.
- Place the pads on the plate, not the car: one in each corner and one in the middle, kept clear of the edge so they don't show. Peel the backing.
- Dry-fit first. Hold the plate in place without pressing and check it's level and centred. You get one go.
- Press hard for thirty seconds, all over, especially the corners. Pressure is what activates the adhesive.
- Leave it a day before washing the car. The bond keeps strengthening for 24 hours.
Fitting with screws
The rule is simple: the screw goes through the plate in a gap, never through a character. On a raised plate a screw through a letter cracks the acrylic or splits the gel, and it isn't fixable.
- Mark the positions with the plate held on the car, using the existing holes in the bumper if there are any.
- Check both marks land on plain plate. If a hole would land on or right next to a character, move it into the margin at the top or bottom, or use pads instead.
- Drill the plate on a flat surface with a sharp bit, slowly. Acrylic and polycarbonate crack if you force them.
- Use the caps. Screw caps cover the heads and keep water out. Black on black, yellow on yellow.
- Don't overtighten. Snug is enough. Cranking the screw down bows the plate and stresses the letters.
Our optional screw pack comes with the screws and caps sized for this.
Two things people get wrong
Fitting onto a plate holder with the old adhesive still on it. If the holder is staying, clean it like the bumper.
Short and hex plates in standard clip holders. The plastic clip holders on many cars only grip a full-height plate. Short and hex plates aren't 111 mm tall in the right places, so they either won't clip in or they'll flex. Use pads straight onto the bumper for those.
If it's a lease or a finance car
Pads are reversible. Screws leave holes. If you don't own the car outright, that's the deciding factor, and there's more on the paperwork side in plates on a finance car.